
Siding That Stops Deterioration Before It Spreads
Siding replacement and installation in Onaway for homes showing visible rot, warping, or failing fasteners
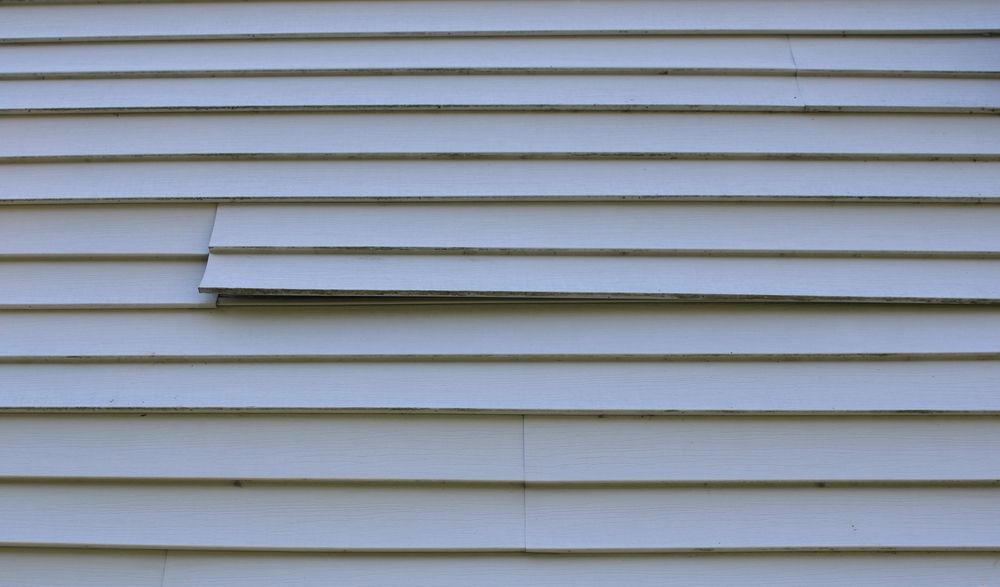
Many homes in the Onaway area were built during eras when vertical board-and-batten and narrow-lap wood siding were the standard exterior treatments, and those materials have a finite service life that most properties in this region have long since passed. Black Mountain Caretaking LLC handles siding replacement and installation for property owners dealing with boards that have begun to cup, crack, or pull away from the wall plane. When deterioration reaches the point where gaps form between courses or fasteners back out on their own, the wall assembly behind the siding is already accumulating damage.
The replacement process begins with a close inspection of the existing wall assembly before any material is removed. On older construction, it is common to find that sheathing boards run diagonally rather than horizontally, which affects how new siding is nailed and what backing or house-wrap integration is required before installation begins. Each section is assessed individually so that the scope of work reflects what is actually present on that wall, not a one-size assumption about the substrate beneath.
Schedule an on-site evaluation with Black Mountain Caretaking LLC to identify which sections of your exterior are actively failing and what the replacement would involve.
How Siding Replacement Addresses the Wall Assembly
New siding installation is not only a surface change. Once the old material is stripped, the exposed sheathing is checked for soft spots, water staining, and areas where the weather barrier has degraded or was never properly lapped. These findings directly determine what preparatory work happens before new siding goes on, and skipping this step is the most common reason a recent installation fails prematurely at specific spots rather than uniformly across the wall.
After the wall assembly is confirmed sound and properly prepared, the new siding is installed with attention to fastener placement, course alignment, and end-joint staggering so that the finished surface sheds water consistently across every linear foot. What you will notice immediately after completion is a flush, uniform exterior plane with no visible gaps, no bowed boards, and trim that sits tight against the siding face rather than leaving shadow lines where water can wick in.
It is worth understanding that corner treatment, window and door surrounds, and soffit transitions are all part of a complete installation rather than optional additions. Gaps at any of these intersections are where water infiltration typically begins, so each transition point is detailed and sealed as part of the project rather than left to caulk alone.
What Property Owners Ask About the Work
The questions below address how siding replacement is carried out, what the work involves at each stage, and what owners of properties with older construction should expect during the process.
What happens to the old siding once it is removed?
Removed siding is pulled in sections and cleared from the work area as demolition progresses so the wall surface and substrate are accessible for inspection before new material goes on. Disposal is handled as part of the project.
How does the condition of the sheathing affect the installation sequence?
If sheathing boards show rot or significant water damage, those sections are replaced before the weather barrier and new siding are applied, because fastening new siding into compromised wood produces a connection that will fail at the first stress point.
What siding profiles work with the framing layouts found in older Onaway-area homes?
Homes built on the older construction patterns common in this region often have framing at non-standard spacing, and siding with a solid nailing face along its full length rather than a single nailing hem tends to perform more reliably in those situations.
Why does joint staggering matter in a siding installation?
Staggering end joints between courses prevents vertical seams from aligning, which would create a continuous path for water to travel inward. Properly staggered joints distribute any water entry point laterally rather than directing it straight to the sheathing.
What should you check in finished siding work before the crew leaves the site?
Verify that all courses are level and consistent in exposure, that corner trim is flush and nailed at correct intervals, that all penetrations for fixtures or vents are flashed rather than caulked only, and that no fastener heads are visible above the siding surface.
Black Mountain Caretaking LLC works through siding projects with attention to the wall assembly behind the surface, not just the material going on top of it. Contact the office to arrange a walkthrough of your exterior and get a clear picture of what full replacement would cover on your property.